Register and ship your dielectric fluid sample
You’ve just received your Eurofins IESPM sampling kit.
To ensure the proper reception of your sample by our laboratories, we invite you to follow the three steps below.
STEP 1: Take a sample
To help you with your sampling, video tutorials are available on our YouTube channel.
A few reminders before you take your sample:
- To work on an electrical device, you must have electrical clearance.
- Pay particular attention to the environmental conditions at the time of sampling (wind, dust, rain or excessive humidity).
- The quantity to be sampled depends on the analysis sequences to be performed. For samples in vials, it is important to always leave an air space of 1 to 2 cm.
The different sampling methods :
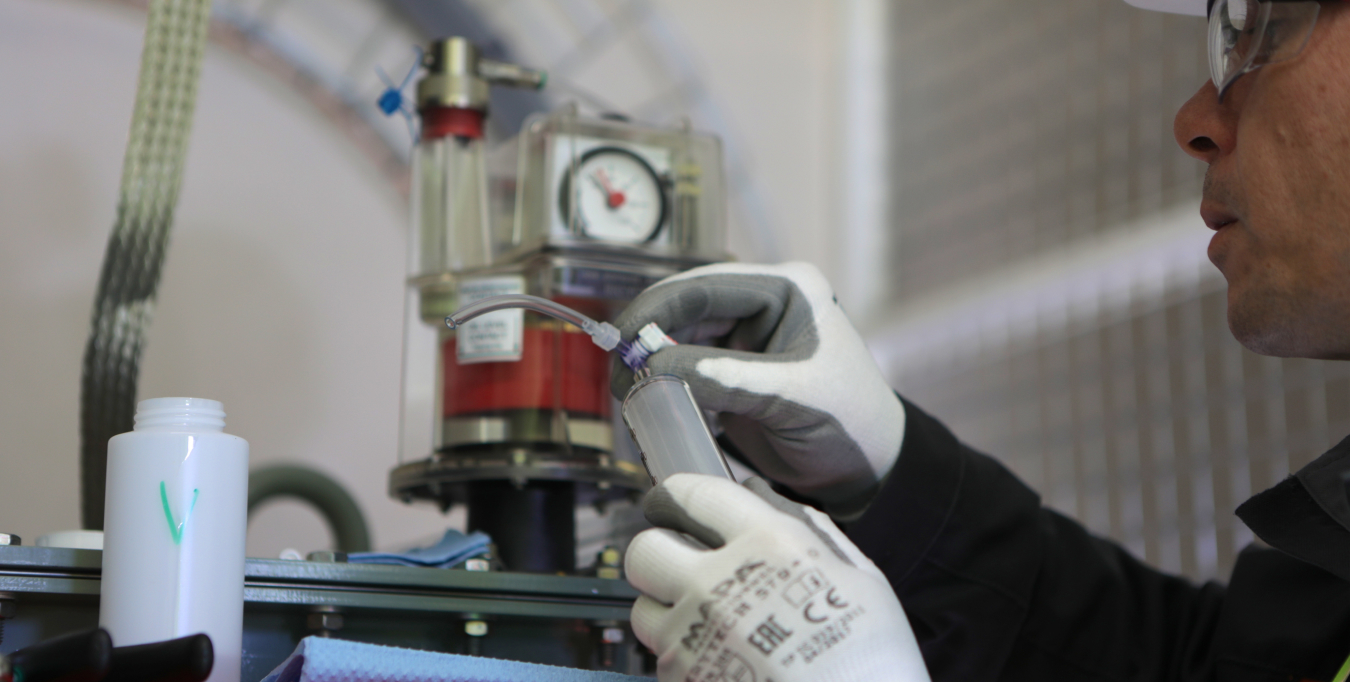
- High and low point sampling (DGPT2, DMCR)
– With syringe for dissolved gas analysis
– With flask (except dissolved gases) - Gas withdrawal at BUCHHOLZ
with a syringe and/or ampoule
To find out more, please see our special report on dielectric fluids:
STEP 2: Register a sample
Have you successfully completed your sampling? Now you need to fill in the technical information about your sample.
First and foremost:
- Stick a follow-up identification label on the kit
If you choose to register your sample yourself on DiagServer :
To register your sample online via our DiagServer portal or the DiagServer App mobile app, go to your DiagServer account using the login credentials received by email. If you don’t have an account yet, please contact us.
- Watch the DiagServer portal video demo
- Watch the video demo of the DiagServer App mobile application
If you choose to fill in the sampling form so that we can register the sample :
- Enter your full contact details
- Paste the second QR Code label on the first page of this document in the top right-hand corner.
- Fill in the sampling form as legibly as possible with a ballpoint pen, providing as many details as possible. This information will be used for analysis, testing and quality control. Incomplete or inaccurate data will affect the relevance of the analysis results and diagnosis.
STEP 3: Send one or more samples
Tip before sending your samples:
- Check that vials are filled to the neck
- Check that the sampling card has been added to the kit
- Check the strength of the packaging
- Before shipment, it is important to ensure compliance with current ADR and/or IATA regulations (appropriate packaging and labelling).
Keep an eye on your mailbox!
Your results and diagnosis will be sent to you by email after a few days.


